 Перейти к содержанию
Laser Marking and Cutting Machine — Comprehensive Guide for Precision Glass Processing
Laser Marking and Cutting Machine — Comprehensive Guide for Precision Glass Processing
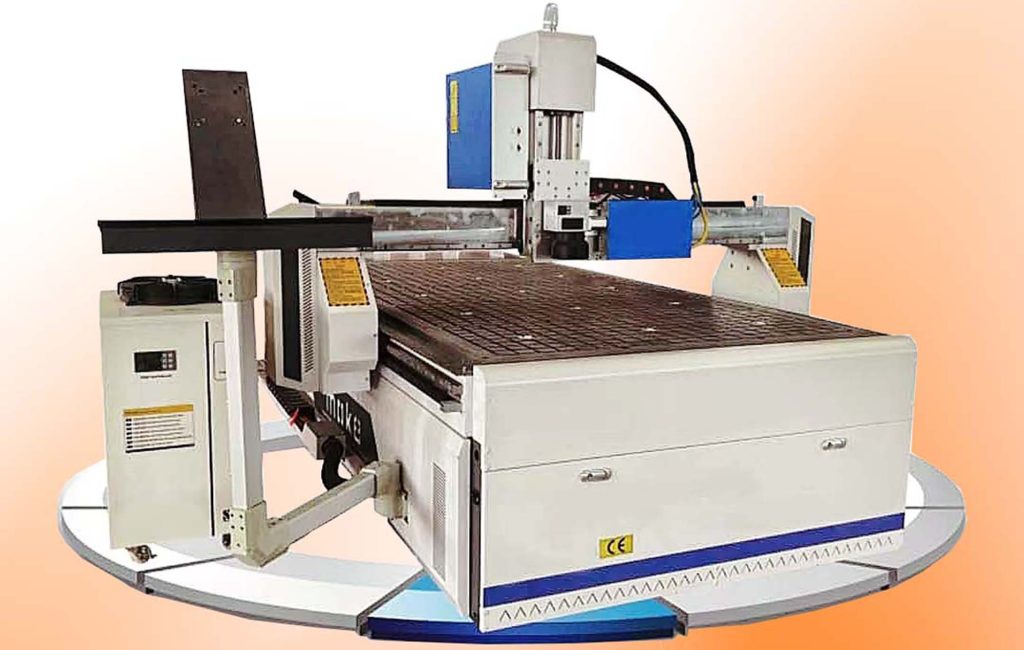
To solve the challenges of glass cutting and mirror sandblasting, our Glass Laser Cutting system operates in a dust-free workshop environment, where its CNC laser cutting system ensures stable, precise, and efficient processing results. This advanced fiber laser cutting machine integrates laser cutting services for both glass and metal materials, supporting a wide range of industrial applications — from sheet metal laser cutting to high-precision mirror engraving.
1. Installing the Robotic Arm
To begin, install the robotic arm as shown and connect internal circuits (pins 11 and 12). The robotic arm provides automated material handling and precise movement synchronization — essential for high-speed CNC laser cutting operations.
Key Benefit: Improved cutting consistency and reduced manual handling errors.
2. Operating the Machine
Use the MOKE control software to operate the CNC laser cutting machine. It supports both Fast Mode for rapid positioning and Step Mode for fine adjustment during fiber laser cutting or metal laser cutting processes.
Recommended Software: MOKE
Control Options: Axis movement, speed regulation, manual/auto mode
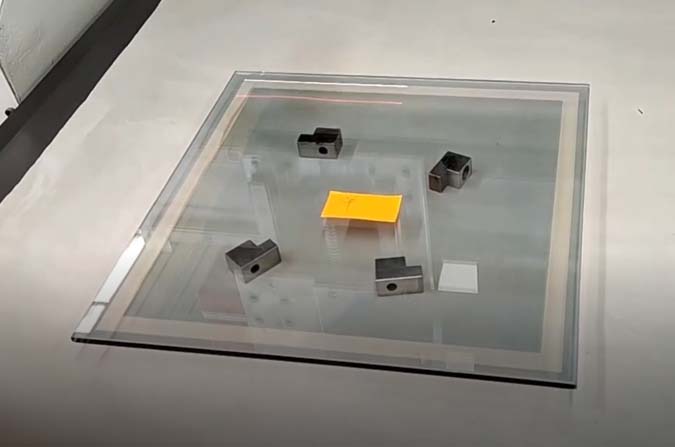
3. Setting the Machine Reference Point
Define the work origin as your starting coordinate, enable synchronous mode and zone mode, and confirm the axis range to ensure accuracy during production. This step is critical for aligning your sheet metal laser cutting or Glass laser cutting tasks.
Work Origin: Defined coordinate for all processing
Mode Setting: Synchronous & Zone modes enabled
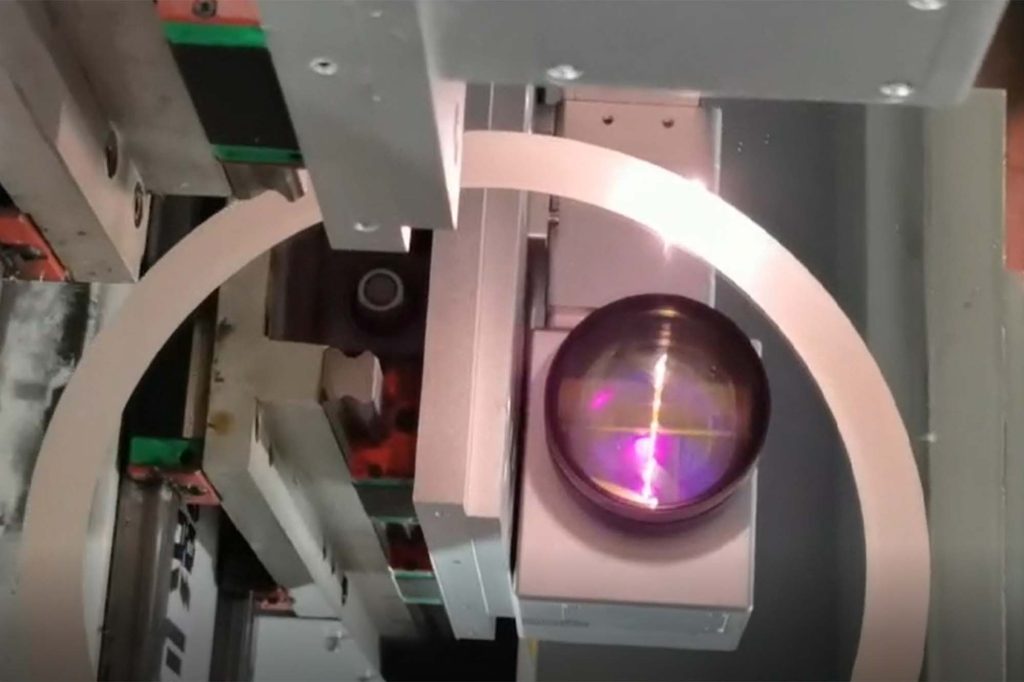
4. Importing Graphics and Starting Marking
Import design files in vector formats (.plt, .dxf2000/2004/2007). Adjust scanning parameters according to your target material and cutting effect.
Scan Method: Radial (arch-shaped)
Processing Speed: 8000 mm/s
Spacing: 0.04 mm
Laser Power: 30%
This flexible workflow supports both decorative laser engraving and functional micro-cutting for architectural or automotive glass.
5. Creating the Sandblasting Effect
For a frosted or sandblasted glass finish, use the following optimized parameters:
Laser Power: 30%
Speed: 5000 mm/s
Spacing: 0.04 mm
This allows the Glass laser cutting machine to simulate the sandblasting process directly — eliminating traditional multiple production steps and saving cost and time.
6. Transparent Mirror Effect
To achieve a clear transparent mirror effect, lower the Z-axis by 1 mm, set the frequency to 150 kHz, and pulse width to 10 ns. Adjust spacing and speed as needed.
Frequency: 150 kHz
Pulse Width: 10 ns
Laser Power: 30%
This ensures ultra-smooth, high-transparency glass results ideal for premium decorative panels.
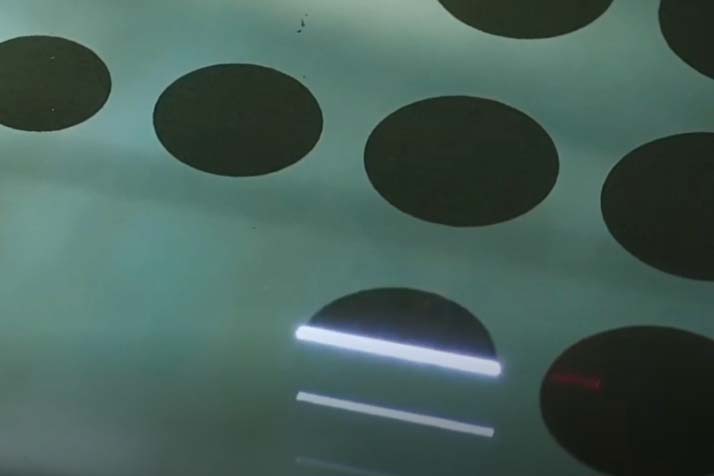
7. Starting Marking and Drilling Operations
For glass drilling or layered marking:
Laser Power: 96%
Speed: 7000 mm/s
Layer Thickness: Adjustable
Ring Count: Adjustable
By customizing the drilling diameter and glass thickness, you can execute multi-layer CNC laser cutting with unmatched precision — ideal for both industrial production and custom fabrication.
- Maximum Processing Size.
- Laser Type.
- Decoating Efficiency.
- Machine Dimensions.
Technical Parameters
| Parameter Name | Default Value | Description |
|---|---|---|
| Scan Spacing | 0.04 mm | The distance between laser points, affecting marking precision. |
| Laser Power | 30%-96% | Adjustable based on the effect, e.g., 30% for transparency and 96% for drilling. |
| Speed (Processing/Movement) | 5000-8000 mm/s | Adjustable to balance marking quality and efficiency. |
| Frequency | 150kHz | Recommended for transparent mirror effects. |
| Pulse Width | 10ns | Ideal for high-precision marking. |
| Ring Count | Adjustable | Defines depth for drilling or layering operations. |
Why Choose Our CNC Laser Cutting System
✅ Integrated laser cutting services for glass, metal, and mirror materials
✅ High-speed, high-precision fiber laser cutting machine
✅ Supports both sheet metal laser cutting and Glass laser cutting
✅ Cleanroom-grade structure for dust-free processing
✅ Simplified operation — from robotic installation to automatic marking
Ready to Upgrade Your Glass Production?
Our CNC laser cutting machine offers an intelligent and efficient solution to replace traditional sandblasting and cutting methods.
Client Details
Better finance and consulting 654, NewYork-22
Service Provided
Financing, Marketing, Tax Advising, Consulting
Project Timeline
5 Days planning, and 1 month for completion
Stay Updated with Our Blog!
Discover the latest in laser cutting services and glass cutting technologies at Hintan-Tech. From expert insights on glass laser cutting to finding laser cutting near you, our blog covers everything you need to know about precision glass cut solutions and advancements in the industry.
