
Laser Marking Machine User Guide
Laser Marking Machine User Guide
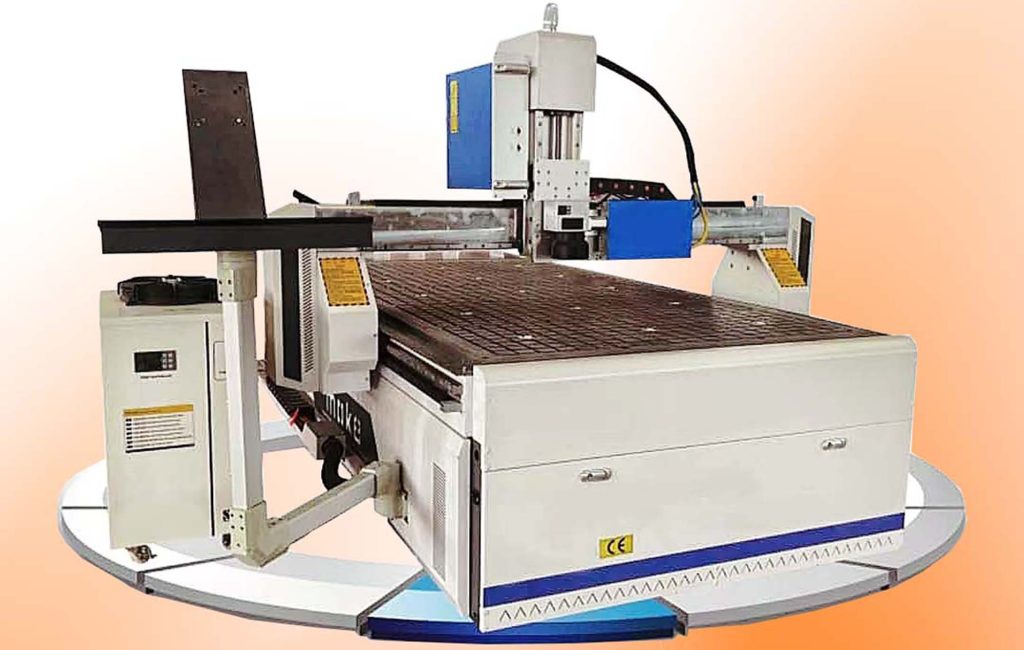
- Installing the Robotic Arm
- Operating the Machine
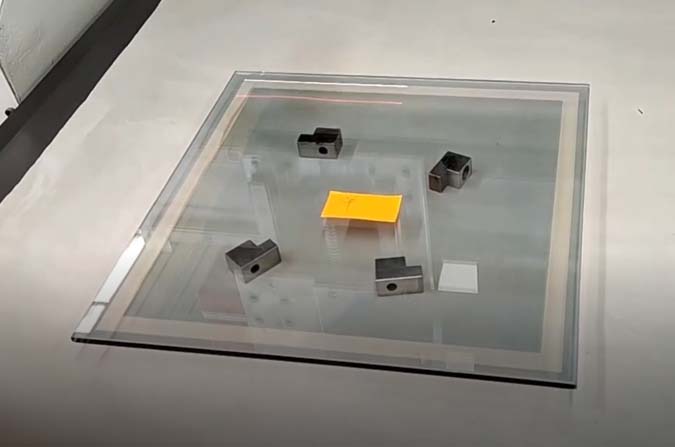
- Setting the Machine Reference Point
- Define the work origin.
- Enable synchronous mode and zone mode.
- Importing Graphics and Starting Marking
- Graphic import.
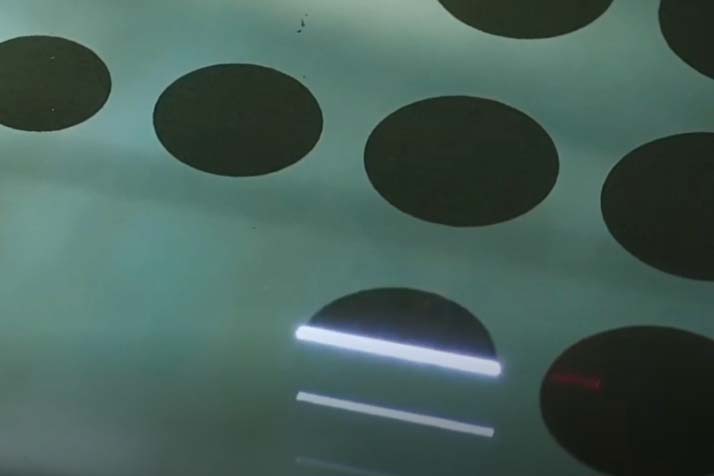
- Creating sandblasting and transparent mirror effects.
- Starting Marking and Drilling Operations
- Configure marking parameters.
- Execute marking and drilling.
Steps and Descriptions
| Step | Description | Key Parameters |
|---|---|---|
| 1. Install the Robotic Arm | Install the robotic arm as shown and connect internal circuits (pins 11 and 12). | – |
| 2. Operate the Machine | Use MOKE software to control axis movements. Select Fast Mode or Step Mode for manual operation. | – |
| 3. Set the Work Origin | – Define the work origin as the starting coordinate. – Enable synchronous mode and zone mode, then confirm the axis range. | – |
| 4. Import Graphics and Start Marking | Import vector files (.plt, .dxf2000/2004/2007). Set scan method, speed, spacing, etc. | – Scan Method: Radial (arch-shaped) – Processing Speed: 8000 mm/s – Spacing: 0.04 mm – Laser Power: 30% |
| 5. Sandblasting Effect | Use default parameters to achieve the sandblasting effect. | – Laser Power: 30% – Speed: 5000 mm/s – Spacing: 0.04 mm |
| 6. Transparent Mirror Effect | Lower the Z-axis by 1mm, set frequency to 150kHz, and pulse width to 10ns. Adjust spacing and speed if needed. | – Frequency: 150kHz – Pulse Width: 10ns – Spacing: 0.04 mm – Laser Power: 30% |
| 7. Drilling Program | Customize hole diameter and glass thickness. Send the file to mark and adjust layer thickness and ring count as needed. | – Laser Power: 96% – Speed: 7000 mm/s – Layer Thickness: Adjustable |
- Maximum Processing Size.
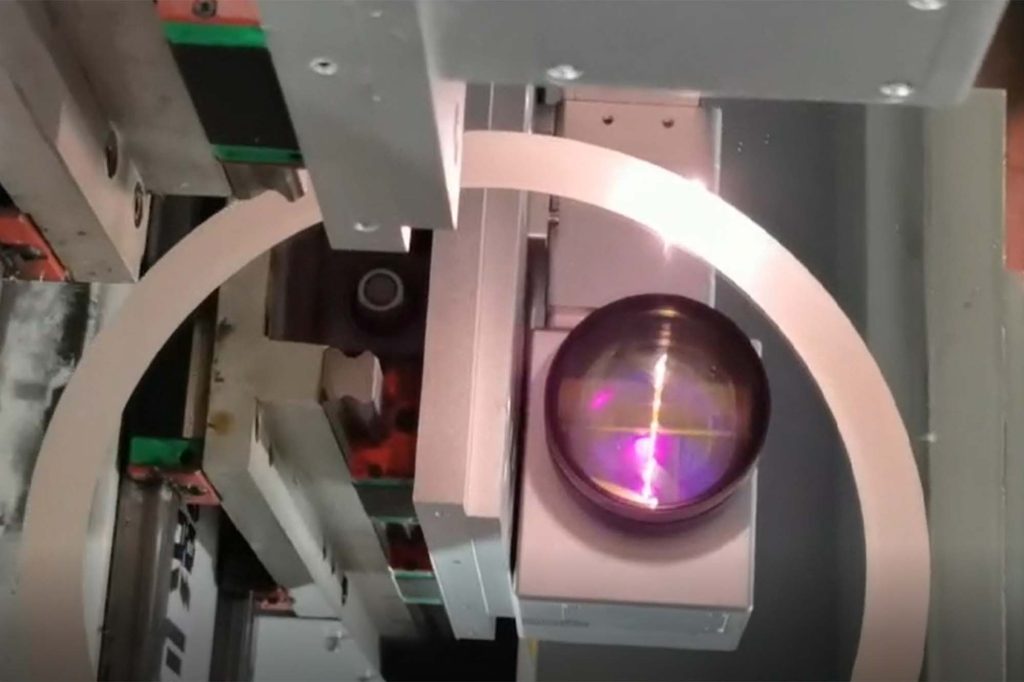
- Laser Type.
- Decoating Efficiency.
- Machine Dimensions.
Technical Parameters
| Parameter Name | Default Value | Description |
|---|---|---|
| Scan Spacing | 0.04 mm | The distance between laser points, affecting marking precision. |
| Laser Power | 30%-96% | Adjustable based on the effect, e.g., 30% for transparency and 96% for drilling. |
| Speed (Processing/Movement) | 5000-8000 mm/s | Adjustable to balance marking quality and efficiency. |
| Frequency | 150kHz | Recommended for transparent mirror effects. |
| Pulse Width | 10ns | Ideal for high-precision marking. |
| Ring Count | Adjustable | Defines depth for drilling or layering operations. |
Precision low-e glass film removal and glass marking
Client Details
Better finance and consulting 654, NewYork-22
Service Provided
Financing, Marketing, Tax Advising, Consulting
Project Timeline
5 Days planning, and 1 month for completion
Stay Updated with Our Blog!
Discover the latest in laser cutting services and glass cutting technologies at Hintan-Tech. From expert insights on glass laser cutting to finding laser cutting near you, our blog covers everything you need to know about precision glass cut solutions and advancements in the industry.